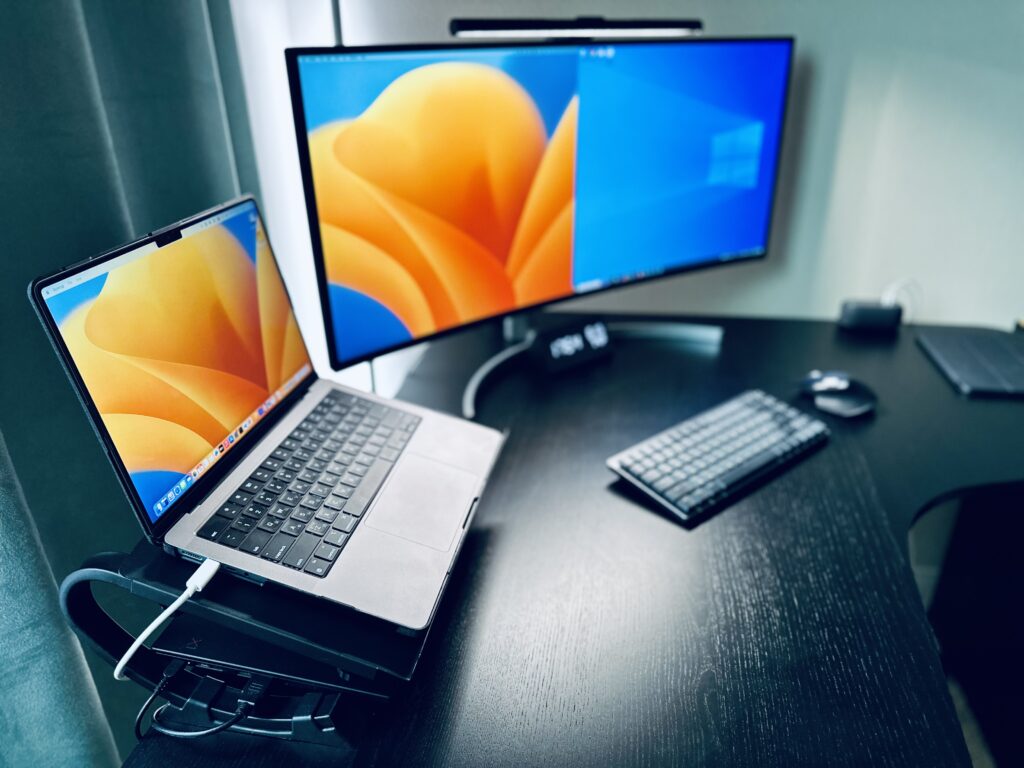
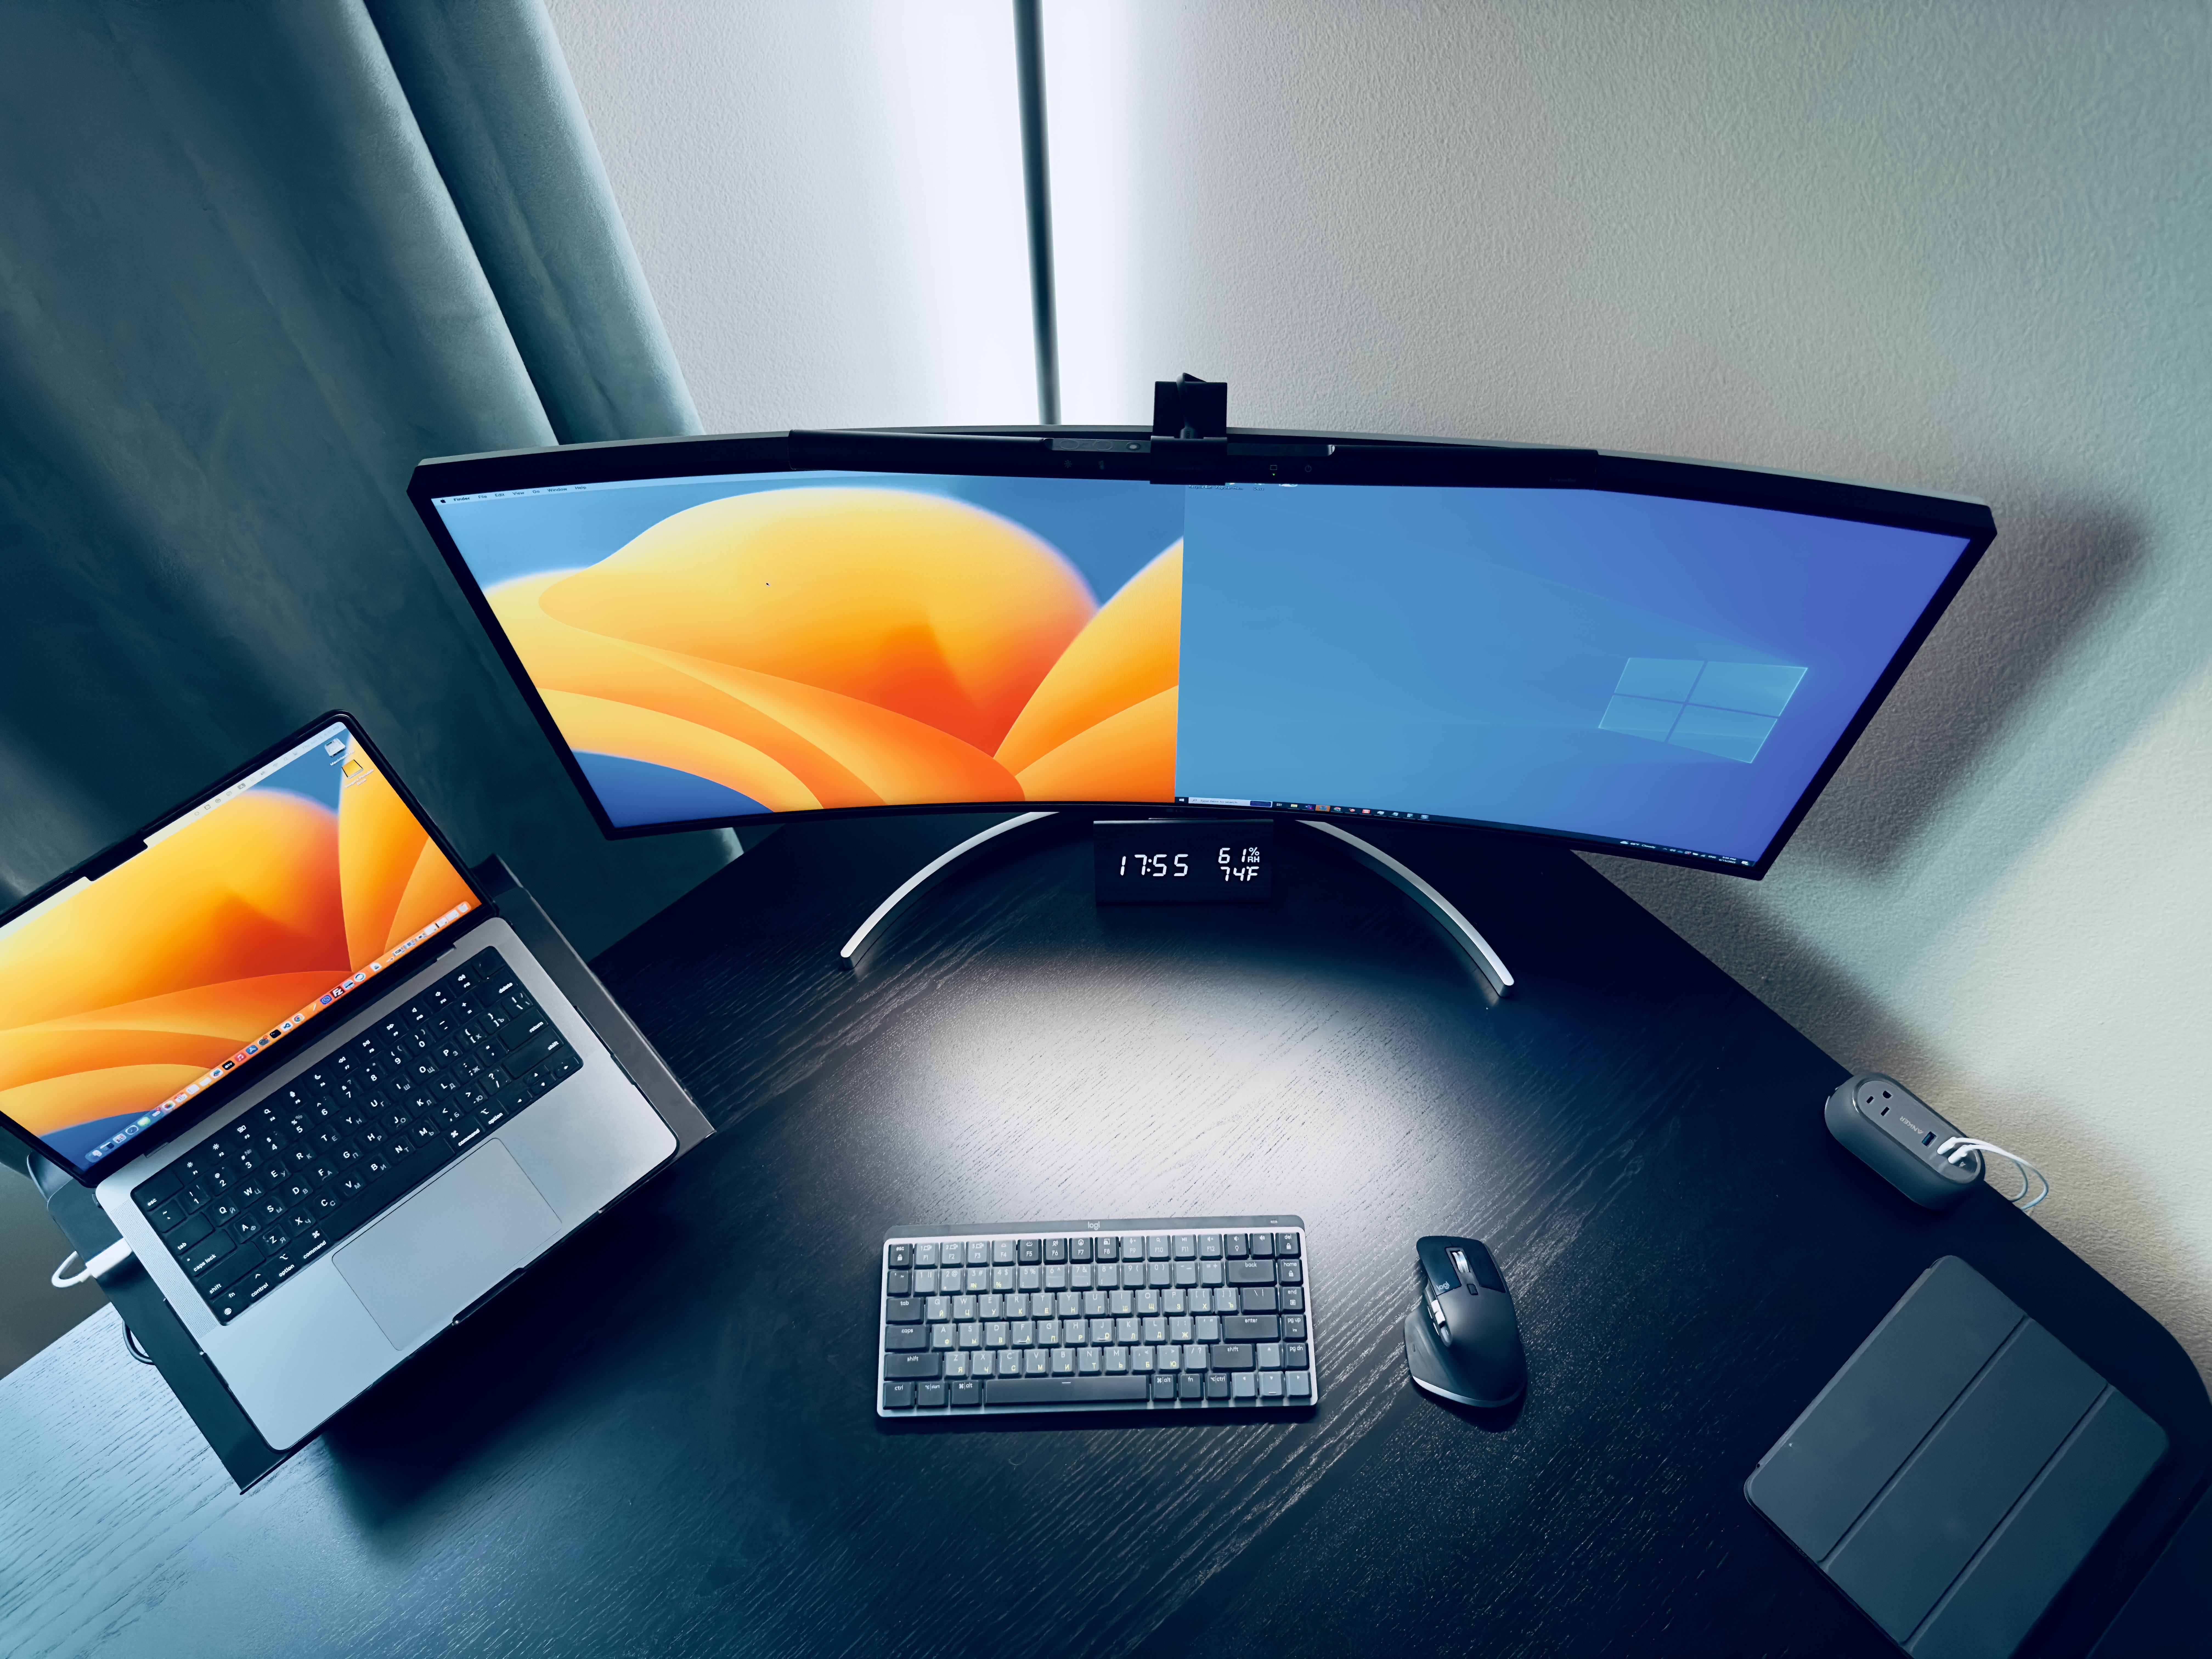
Hello everyone! I want to talk about a frequently asked question today: how to display a Mac and a PC on the same screen while controlling them with just one keyboard and mouse. Don’t worry; I’m here to help! In this guide, I will provide you with a detailed step-by-step process that is simple and low-tech, perfect for my own needs. By the end of this guide, you’ll clearly understand how to implement some of these techniques into your own setup.
Here’s what you’ll need:
- Two display cables (HDMI, DisplayPort, or compatible with your monitor)
- Female to two male audio splitter cable
- Optional: Thunderbolt dock (helpful if you have a laptop that you’ll be frequently removing and replacing)
- Two computers (Mac and PC)
- Monitor, keyboard, and mouse
Let’s dive into the setup process:
Gather the necessary equipment:
- Ensure you have all the required cables, the audio splitter, and the computers ready.

Connect the display cables:
- Add one end of each display cable to two different inputs on your monitor.
- Connect the other ends of the display cables to the respective computers.
- Ensure that the cables you choose are compatible with your monitor and computers.
Set up audio output:
- Grab the audio splitter and connect one male head to each of your systems.
- Plug your speakers’ male head into the splitter’s female lead.
- This setup allows both computers to play audio simultaneously without any interference.
- Remember that the speaker volume might be reduced by half, but it should still be sufficient for your needs.
Monitor functionality:
- If you have an ultrawide monitor like mine, it’s ideal for displaying both systems side by side.
- Many ultrawide monitors come with built-in software that allows you to split the screen into two halves, essentially acting as separate monitors.
- If you don’t have an ultrawide monitor, you can still switch inputs to view each system individually.

Keyboard and mouse control:
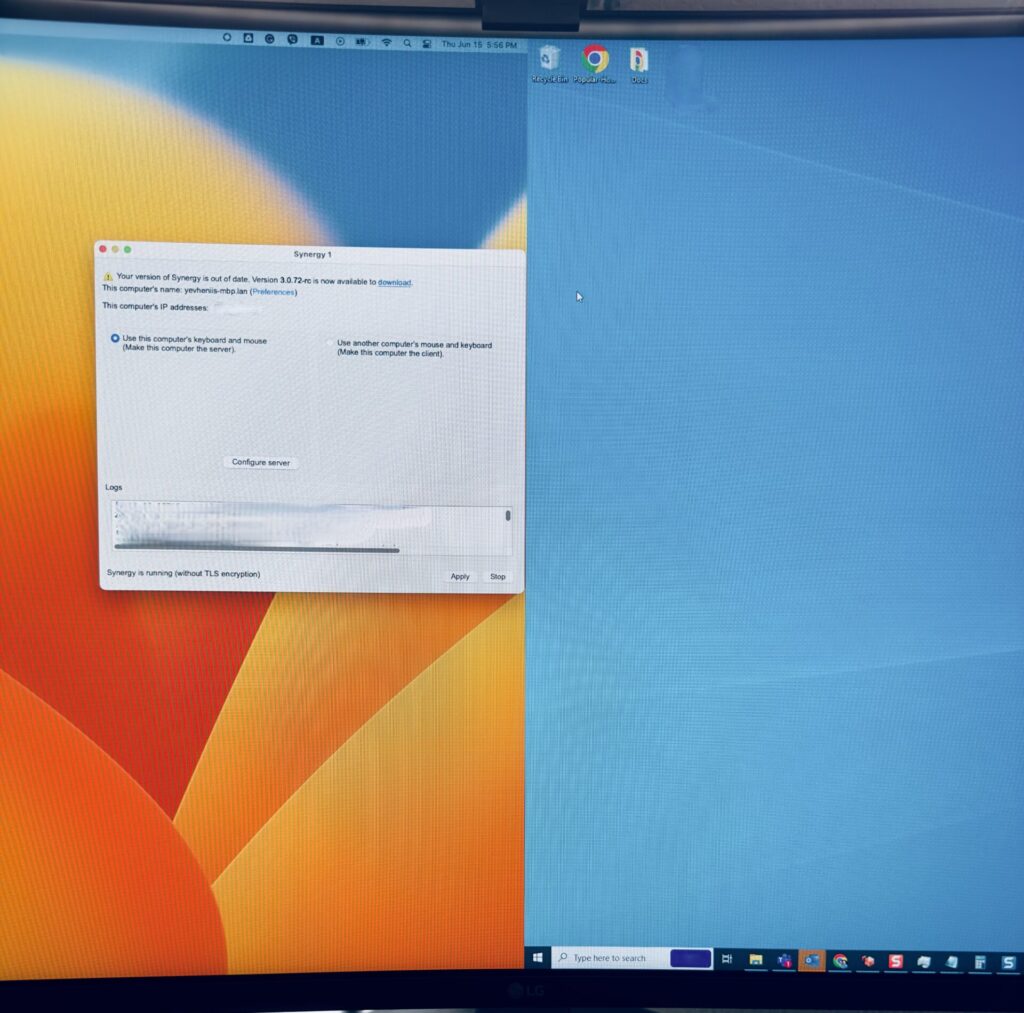
- Instead of using separate wireless keyboard and mouse setups, I recommend using a program called Synergy.
- Purchase and download Synergy on your Mac and PC (a paid application available for $29).
- Open Synergy on both computers and decide which one will be the server and the client.
- The server computer is where you’ll connect the keyboard and mouse (in my case, it’s the PC).
- If you have wired peripherals, plug them into the server computer.
- Click the server configuration box on the server computer’s Synergy interface and select “Configure Server.”
- A grid will appear, allowing you to position the client computer (e.g., the MacBook) relative to the server computer.
- Drag one of the icons to the right of the PC icon to represent the client computer’s position.
- Double-click the newly placed icon and change the screen name to match the client name, which you can find on the client’s computer.
- Switch to the client computer and check the client box in Synergy.
- Enter the IP address of the server computer (you can find it at the top of the Synergy window on the server computer).
- Start Synergy on both computers, and a confirmation message will appear once they connect successfully.
- Close the configuration window, and Synergy will continue running in the background, maintaining the connection between your devices.
- With Synergy, your keyboard and mouse inputs seamlessly transfer between both computers, making the transition smooth and effortless.

Test the setup and enjoy:
- Ensure the keyboard, mouse, and monitor work correctly across both systems.
- You can now control your Mac and PC with a single keyboard and mouse set, enhancing your productivity and convenience.
I hope this guide help you to understand how to display a Mac and a PC on the same screen. Remember that you can adjust these steps to fit your specific needs and hardware. Although there are other methods, I found this simple approach very convenient and practical. So don’t be afraid to try it and enjoy the ease of switching between your Mac and PC on a single monitor!
What I used:
- Monitor (Product Review)
- Keyboard (Product Review)
- Mouse (Product Review)
- Desktop Stand (Product Review)
- Monitor Light (Product Review)


Pingback: Beelink SER6 Pro Mini PC, Ryzen 7 7735HS Max 4.75GHz 8 Cores Mini Computer check this super mini computer! - Get Smart Home Office site